

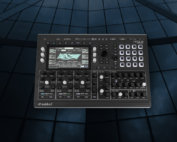
Waldorf Iridium has made the impossible possible. The mighty synth engine from Quantum is now available in a compact form. Tracing the footsteps of its bigger brother, Iridium features all the synthesis elements of Quantum as well in a rack-compatible format. The combination of the powerful engine, incredible flexibility and detailed sound shaping facilities creates sheer endless possibilities of sound. Yet, the comprehensive layout and easy-to-understand structure lets you design your own sounds in no time. Sporting a solid metal casing and the same high level of craftsmanship like Quantum, Iridium is now ready to take over studios and stages throughout the world.

Contributing another entry in Waldorf’s rich history, Iridium joins the family as a direct descendant of the PPG Wave. Though, Iridium offers much more than its ancestor. Five different synthesis models are provided by Iridium for each of the three oscillators:
- Wavetable
- Waveform (Virtual Analog)
- Particle (Sampling and Granular Sampling)
- Resonator
- Kernels
Kernel mode has been introduced with the OS 2.0 of Quantum. This huge upgrade allows one oscillator to be turned into up to six sub oscillators. These can be interlinked through FM at audio rate and arranged in user-definable constellations. Just this upgrade alone would have provided enough additional features to create a synthesizer on its own. Now, all those functions have been integrated into Iridium as well.
Up to 7000 patches can be saved in Iridium. Patches from Quantum can be loaded in Iridium and vice-versa.
Iridium features three digital filters per voice. Two in the Dual Filter section and another one in the Digital Former. Several types are available to choose from:
- 12 or 24dB and Lowpass/Highpass/Bandpass with optional saturation or dirtiness.
- Various filter models are available including those from Waldorf Nave, Largo and PPG 3V.
- The Dual Filter section can be controlled independently or together in several different link modes.
- The Digital Former offers all the filter types and models from the Dual Filter plus unusual models like Comb, Drive, Bitcrusher and more in addition.
All filters retain a true stereo signal throughout the entire structure of the instrument.
Up and down, back and forth
6 Envelopes, 6 LFOs and many more are just waiting for being used as sources in the 40 slots of the Modulation Matrix. Each slot has one additional control amount. Modulations can be directed to almost every numerical value in Iridium. All sources and destinations can be used as many times as desired until the Modulation Matrix is full. If you ever happen to run out of LFOs or Envelopes, you can use the Komplex Modulator for generating a custom shape LFO or Envelope.
Complex, but not complicated
Even though Iridium features a staggering amount of parameters to control, everything is organized in a logic structure which is easy to master. The major controls have their own dedicated knob, while the rest is accessible through the touch screen and the encoders around. There are no long menus keeping you from doing what you had planned. Instead, you will find a workflow which you will soon miss on other synthesizers.
Hands-on
Embedded in the front panel, a 4×4 silicon pad matrix invites you to launch notes, chords, arpeggios and sequences with up to 32 steps for notes and multiple parameter lines. Direct access to the parameters is granted by the seven encoders to the left and the right hand side of the touch screen.
Take a look inside!
Iridiums large color touch screen keeps you informed at all times. Upon moving a knob, Iridium gives you an optical feedback of your changes in real-time. Filter curves move, Particle grain sizes change, Envelopes warp and much more:
- Komplex Modulator curves can be drawn with your finger
- Envelopes show at which point the voices currently are
- Wavetables are displayed in comprehensive view modes
- VU meters show which voices are used and the individual voice levels
- Different Analyzers show the audio signal at different points
Get connected
Two Audio Outputs allow you to listen to Iridium, while two Inputs allow Iridium to process external signals. 4 CV inputs plus Gate In and Trigger In are ready to forward external signals to the Mod Matrix. Furthermore, Clock In and Clock Out will get your gear in sync. MIDI connections can be made through USB and DIN MIDI. Iridium is also equipped with a USB Host port for MIDI devices. This port also handles data exchange, in addition to the MicroSD card slot.
Once again, Waldorf have underlined their status with a new and exciting synthesizer.
Iridium is designed, constructed and made in Germany. All components used are industrial grade quality to create a reliable studio device that is made to last for many years.
")
Iridium
Specifications
Specifications
- 16-voice polyphony, duo-timbral
- Compatible with the Waldorf Quantum synth engine
3 Oscillators
Oscillator Modes:
- Wavetable
- Waveform (VA)
- Particle (Sampling and Granular Sampling)
- Resonator
- Kernels (up to 6 sub-oscillators which can be interlinked through FM at audio rate)
3 Stereo Filters per voice
True stereo path Dual Digital Filter:
- Two filters with independable modes
- 12/24dB LP/HP/BP in all combinations
- Nave, Largo, PPG, Quantum and StateVariable models
Digital Former:
- Filter models from Waldorf Nave, Largo and PPG in HP/LP/BP/Notch
- Comb filter
- Bitcrusher
- Drive
- RingMod
- StateVariable mode
- Analyzer displayed in Filter view
- Filter curve moves when modulated (optional)
- Sophisticated filter routing options with modulatable panning and levels
Modulators:
- 6 Envelopes
- 6 LFOs
- Komplex Modulator (LFO/Envelope combination with user-definable shape)
Mod Matrix:
- 40 slots
- Fast assign mode
- One additional control amount per slot
- Identical Sources and Destinations can be used multiple times until the matrix is full
Pads:
- 4×4 silicon pad matrix with RGB backlights
- Pads can play notes, chords, arpeggios and sequences
- Latch mode
Performance features:
- Arpeggiator
- Step sequencer with up to 32 steps for notes and parameters
- Favorites screen for quick patch recall
- Onscreen Mod Wheel, Pitch Bend and Aftertouch
Screen:
- Industrial-grade highly responsive touch screen
Patches:
- Over 1000 factory sounds
- Capacity of 7000 patch memory slots (numbers 0000-9999 can be used)
- Patches from Quantum can be loaded and vice-versa
- Category filter for patch list
- 2GB user sample flash memory
Connections:
- 2x TS output
- 2x TS input
- Headphones output with Gain control
- DIN MIDI In/Out/Thru
- USB MIDI
- USB host for storage and MIDI devices
- MicroSD slot
- Kensington® lock
CV connections:
- 4 CV inputs plus Gate In, Trigger In, Clock In, Clock Out
- Inputs can be used as modulation sources in the Mod Matrix
Overall:
- Sturdy metal case with aluminum knobs
- Dimensions: 440mm wide by 305mm depth by 85mm height (including controls)
- Weight: 5.4kg
- VESA 75 recepticle on the bottom (mountable on monitor stand using the VESA standard)
- 19″ rack assembly parts available
Video
Video
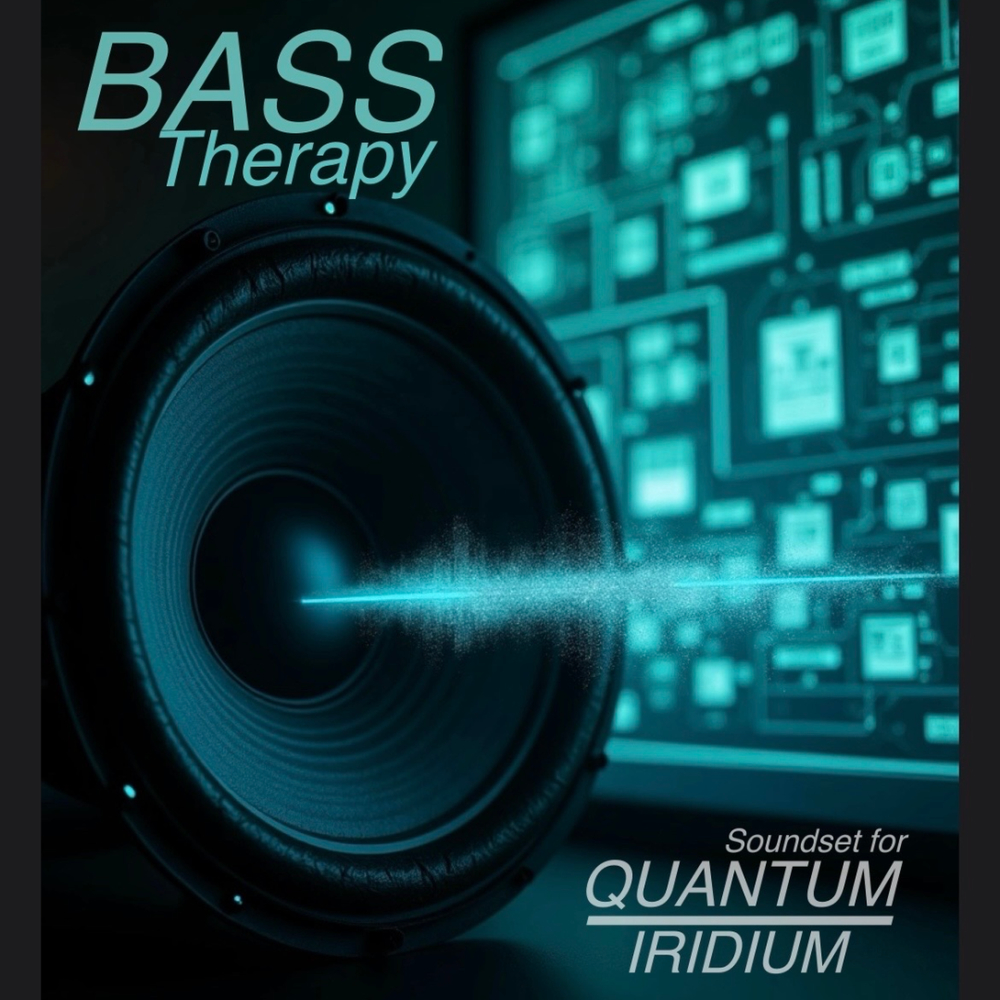
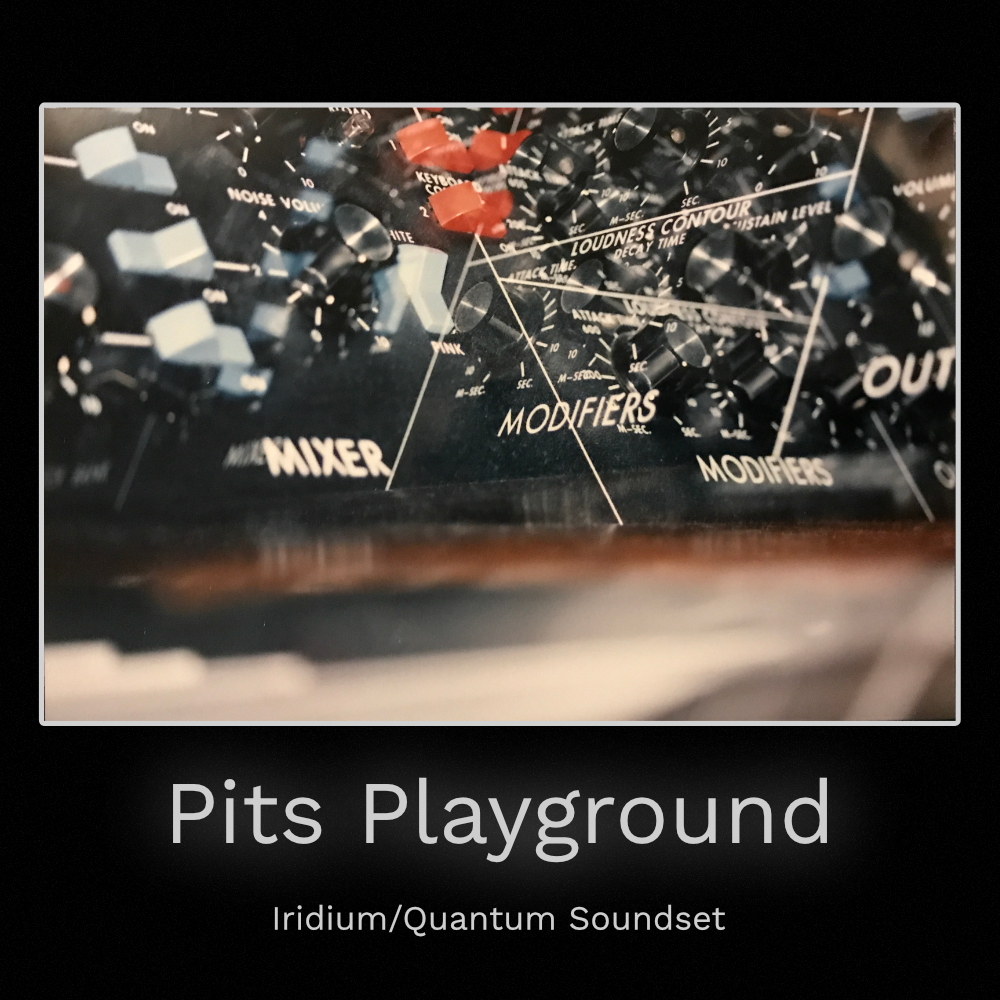
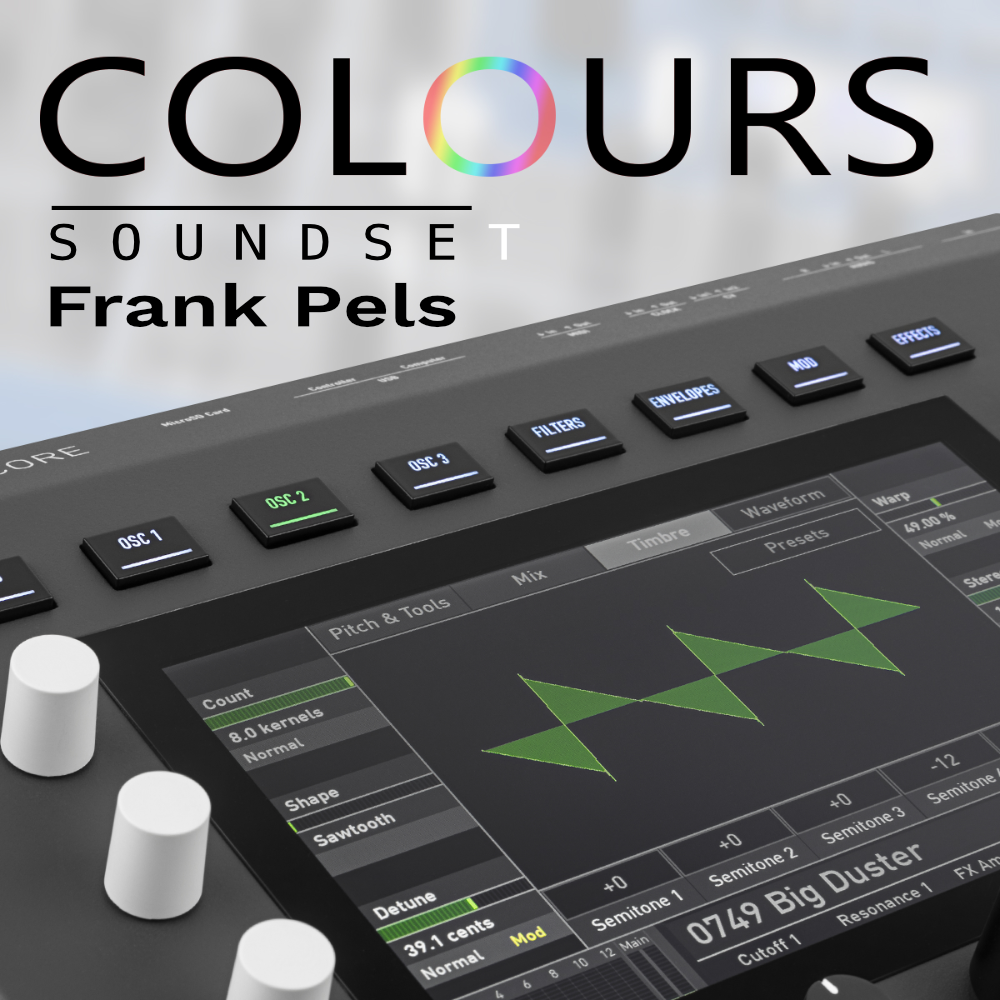
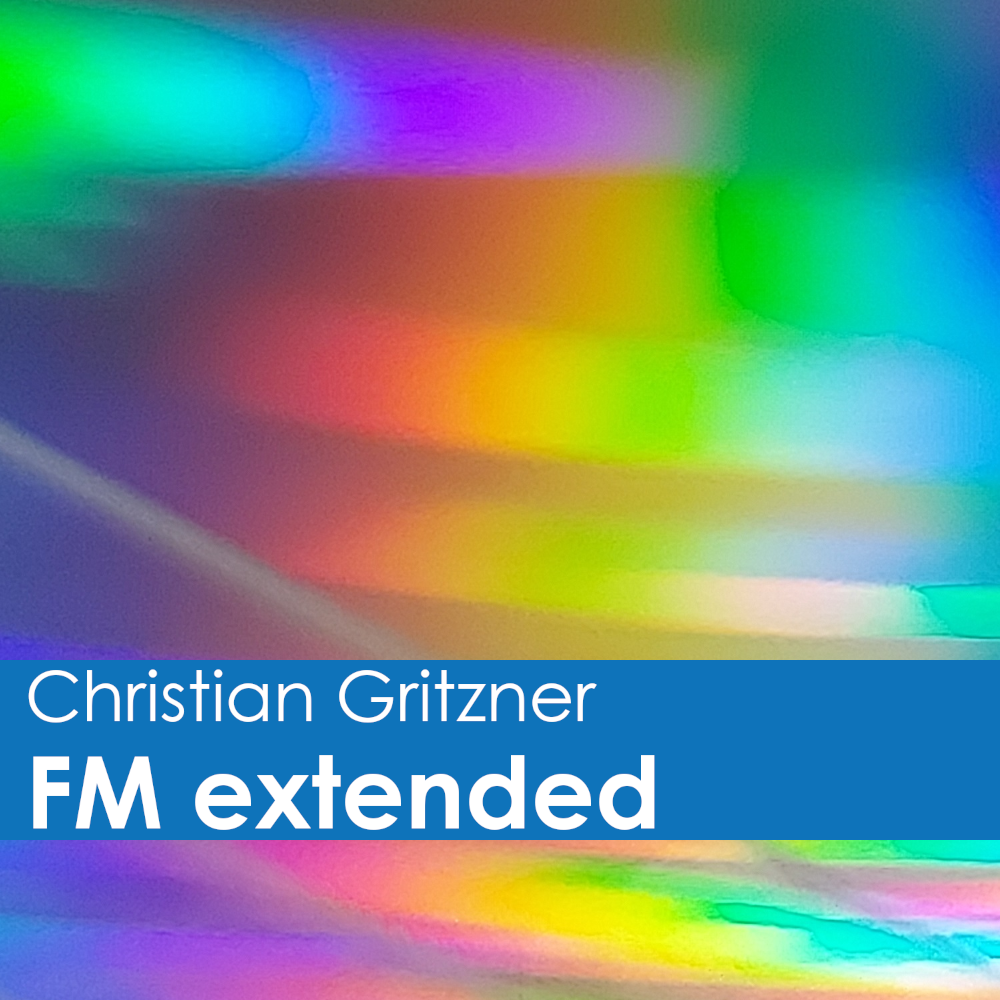
Soundsets
Soundsets


Sound Demos
Sound Demo
Pictures
")
")
")
")


